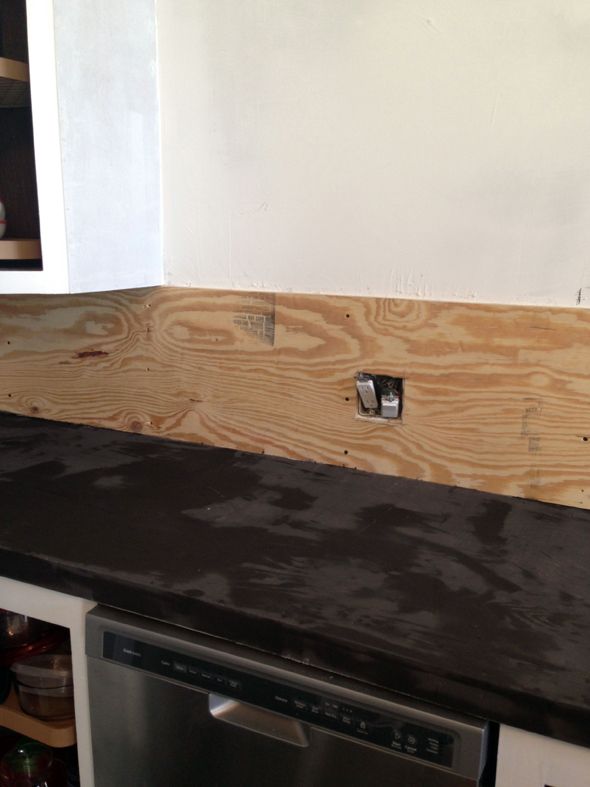
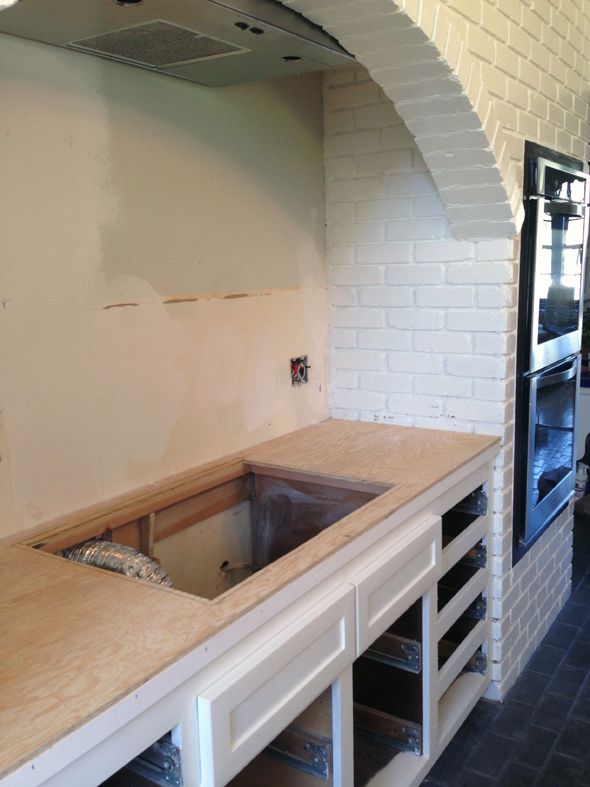
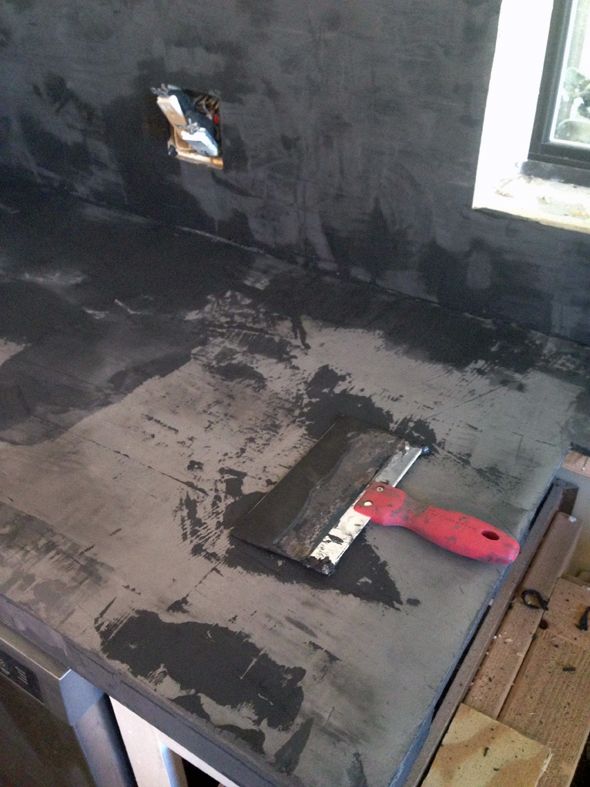
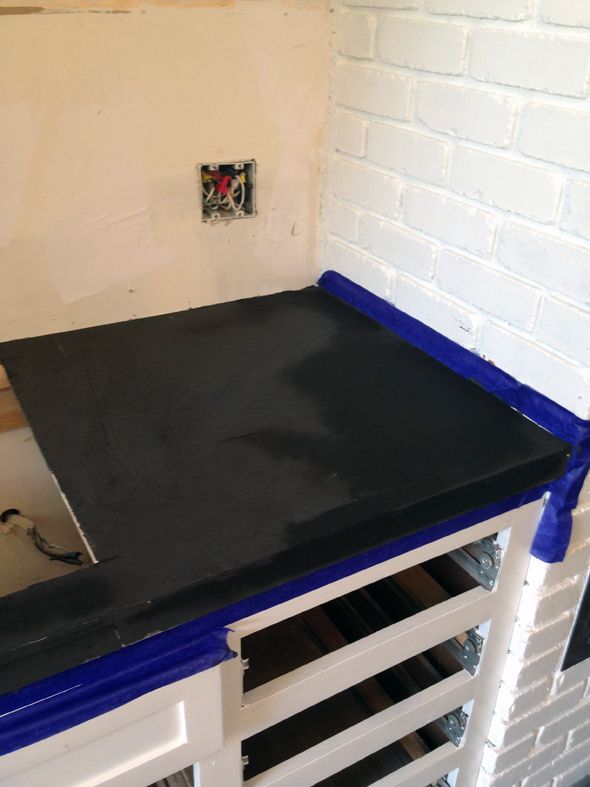
We built countertops out of scrap plywood to the exact dimensions of the old granite.
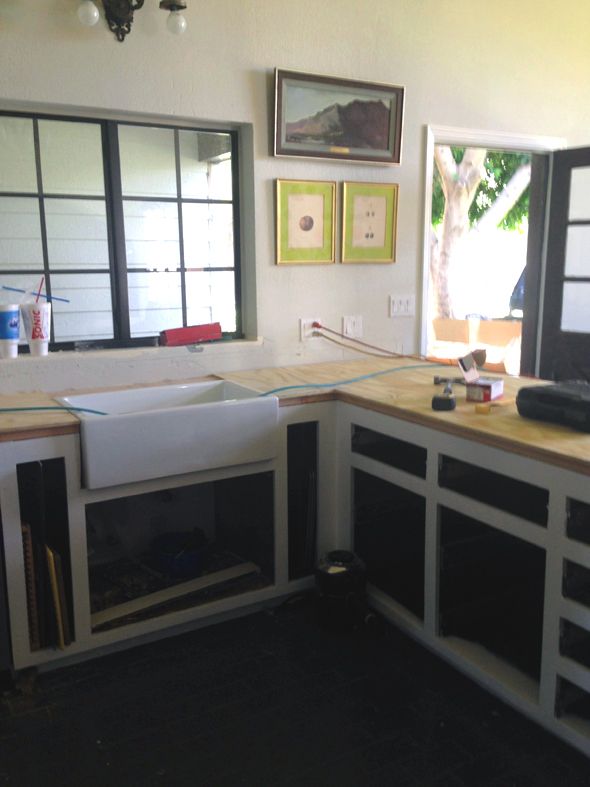
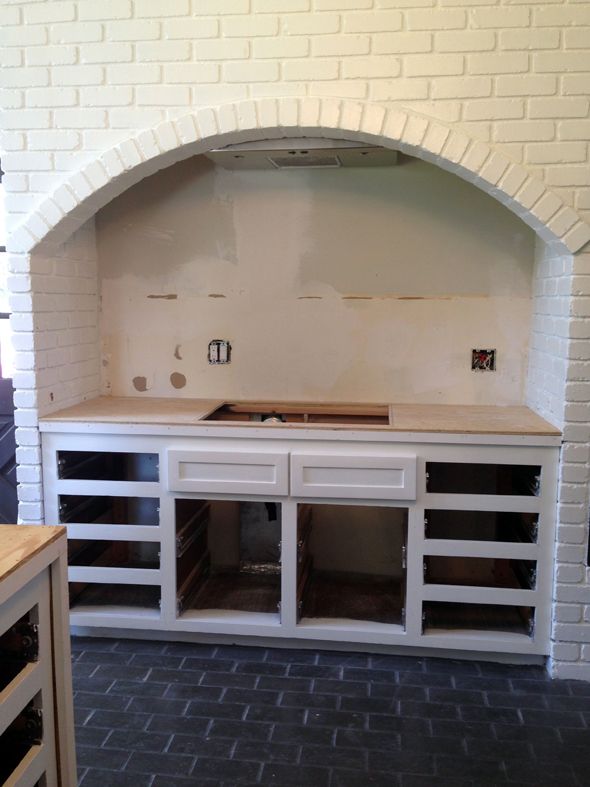
We made the edges thicker by adding a little brick moulding beneath the plywood.
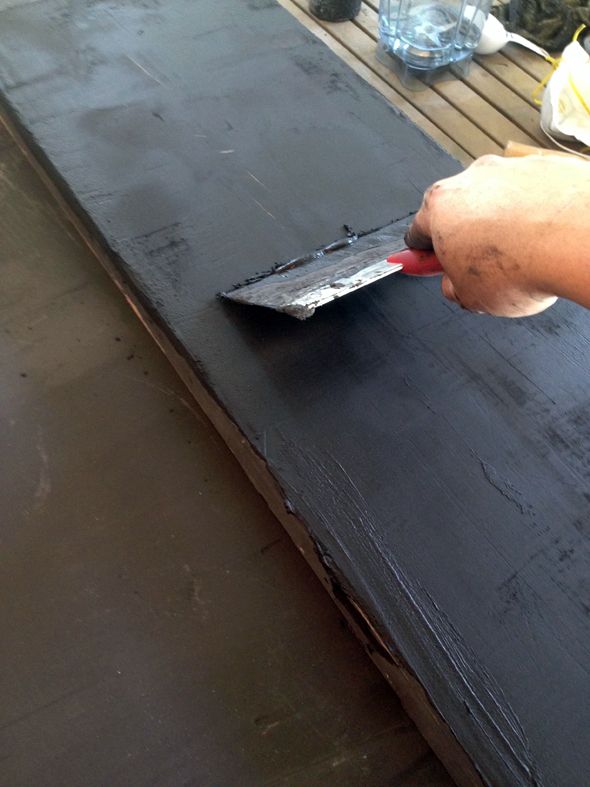
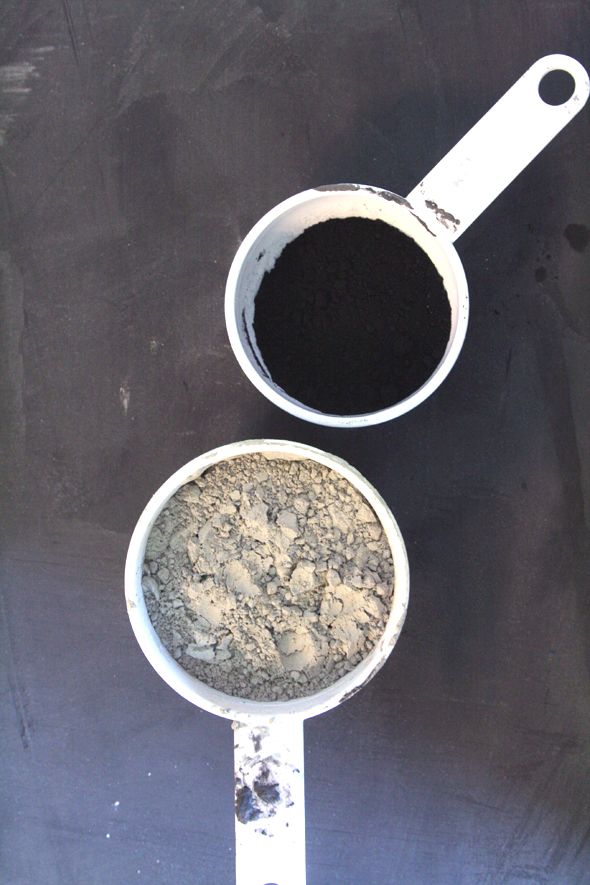
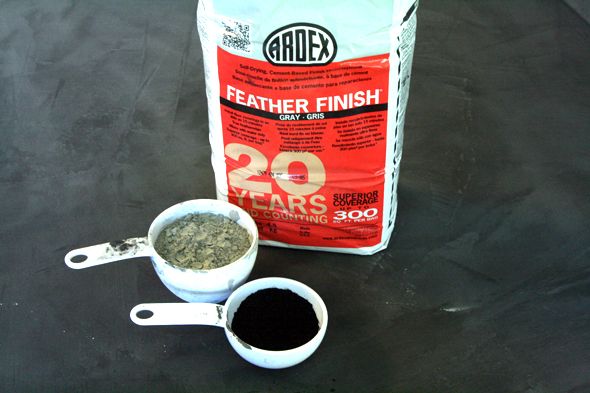
I also added a waterfall edge on the peninsula and I LOVE how it turned out. The first coat of concrete though, I didn't quite use enough black powder.
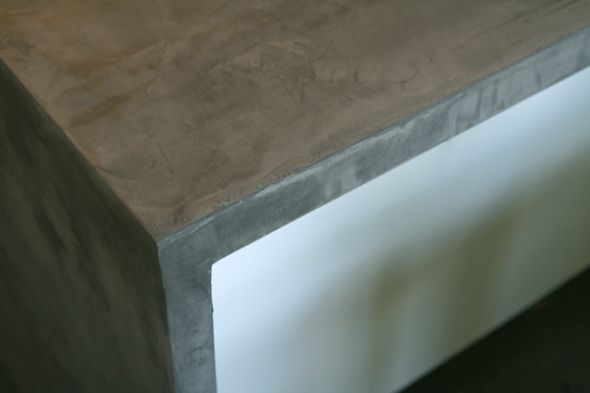
It turns out about a 1/4 cup to every two cups of concrete is just the right amount.

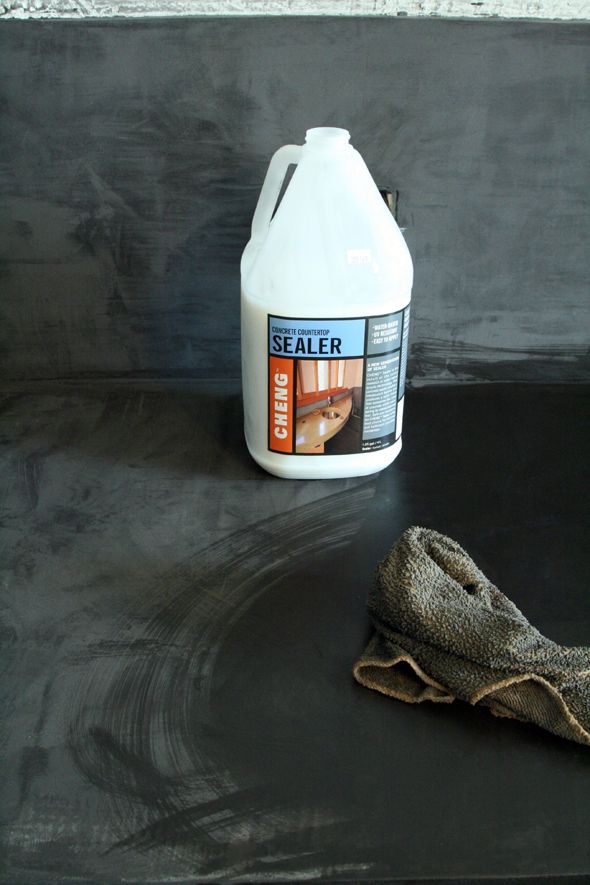
I used the same exact approach that I used in my laundry room, but this time I used a more expensive food-safe sealer. This stuff is pretty hard core. So far it's been worth every penny! I only needed about half of the bottle for several applications, so I think it's actually a pretty good value.
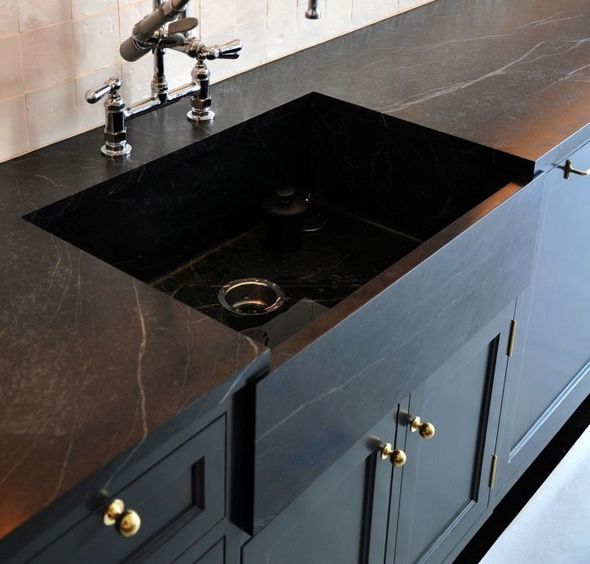
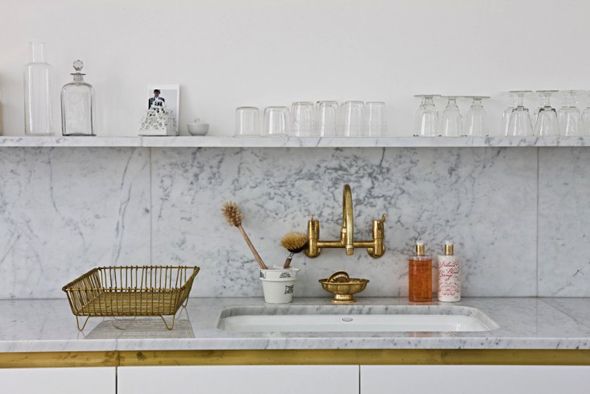
At sort of the last minute I had a change of heart about the shelving. I had wanted to use a taller series of three or four shelves, but I couldn't get this image from Remodelista out of my mind. I think the single, lower sleek shelf is just perfect here.
So we built a little backsplash and I used a pine board to make a shelf that I also layered in concrete.